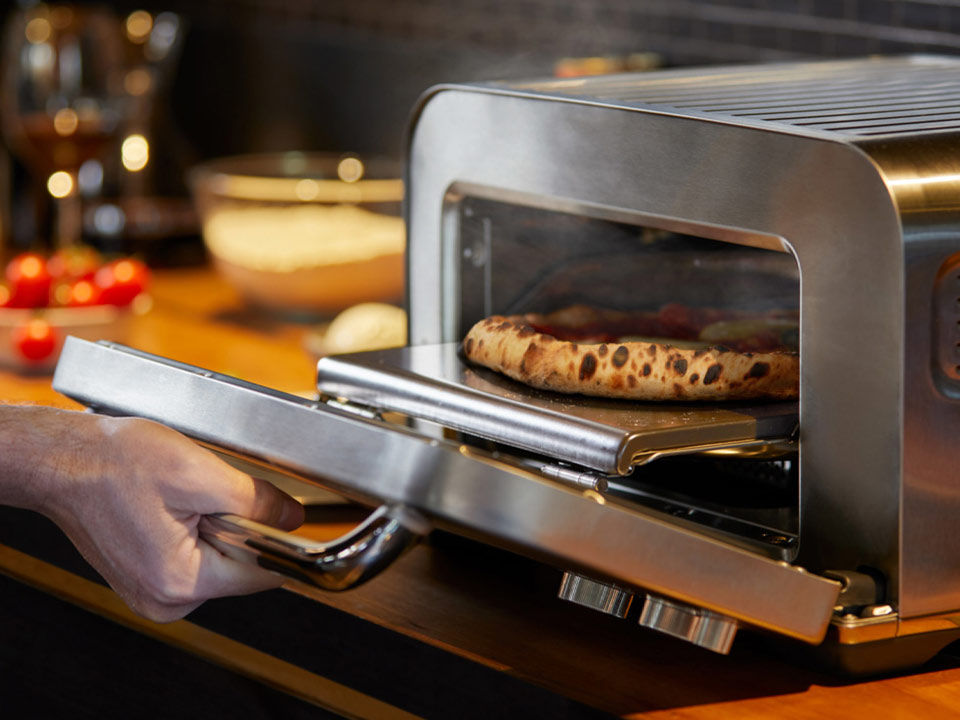
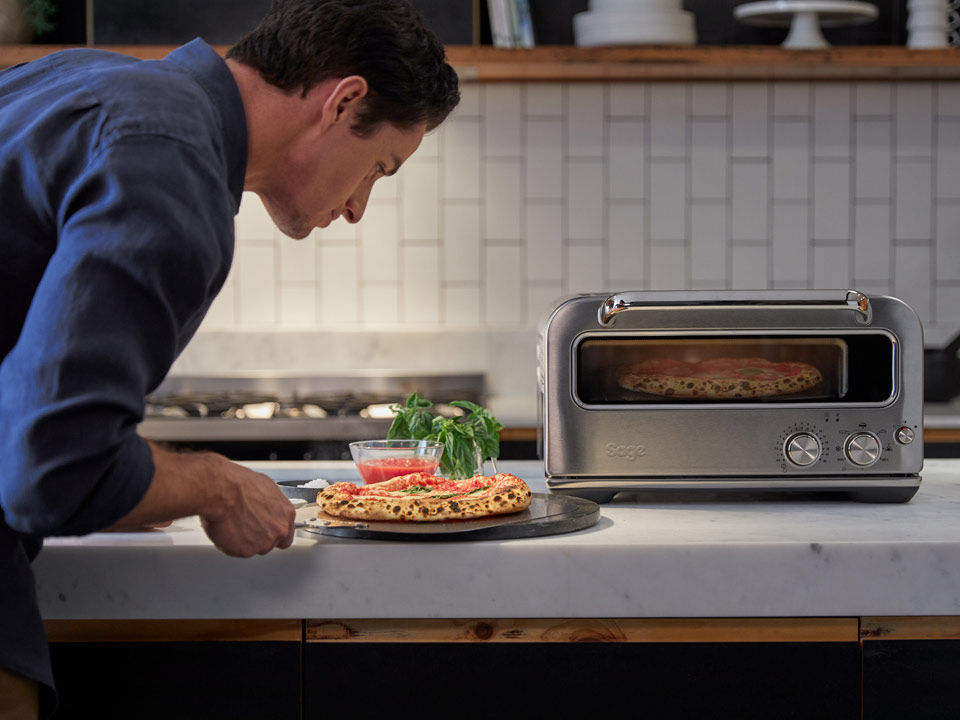
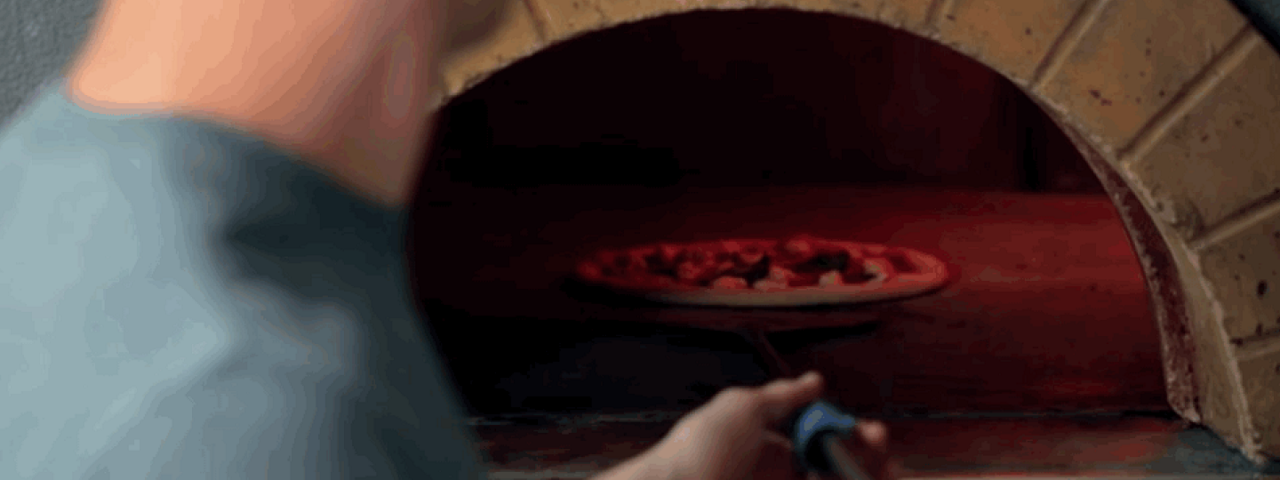
Due to the extremely high temperatures being achieved, please ensure to place the oven in a well-ventilated area, as it will emit smoke when cooking. Do not use the appliance near the edge of a countertop or table. Ensure the surface is stable, level, heat-resistant and clean.
Using Pizzaiolo for the first time
- Remove and safely discard any packing material, promotional labels and tape from the oven.
- Remove the pizza stone from its packaging. Gently wipe the top black surface of the deck with a damp cloth. Dry thoroughly and place the pizza stone in the oven cavity.
- Wipe the interior of the oven with a soft, damp sponge.
- Place the oven on a flat, dry surface. Ensure there is a minimum distance of 4″ (10cm) of space on both sides of the oven and 6″” (15cm)above.
- Insert the power plug into a grounded power outlet.
- The oven alert will sound and the TIME dial lights will illuminate and then turn off.
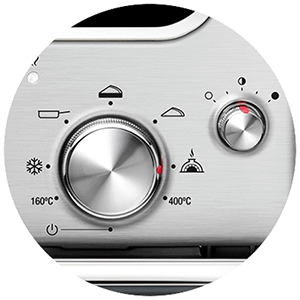
- Turn the STYLE dial clockwise until the indicator reaches the 400°C function.
- Let the oven run for 20 minutes.
- The oven is now ready to use.
This indicates that the oven is outside the desired temperature for cooking. Wait till the AT TEMP light turns on and stays on before loading your pizza.
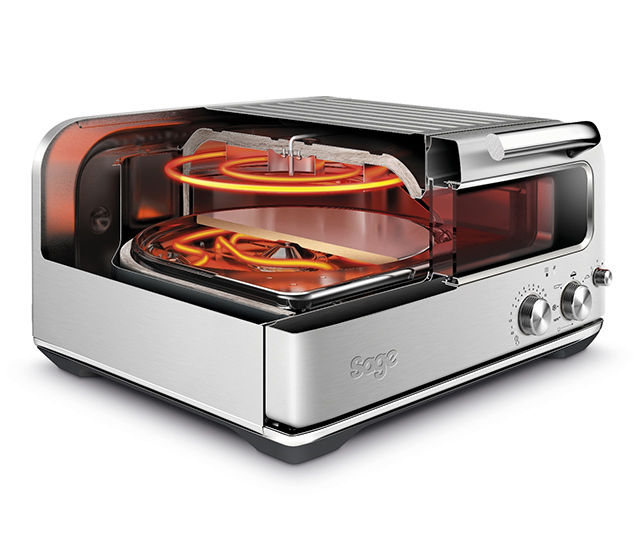
The Sage Pizzaiolo oven features our Element iQ system, that adjusts what heating elements are on, and the power of each of the heating elements to achieve the optimum cooking performance. Each of the oven’s functions is preset with our recommended deck and top temperatures, that are based on recipes and testing. You can choose to use the presets ‘Wood Fired’, New York, Pan, Thin & Crispy or Frozen or if you prefer to customise your heat settings you can use Manual Mode. Please refer to the Instruction booklet for additional information.
This is normal. The door is vented to release steam created from high moisture content foods. Some of the condensed water may collect under the feet of the oven which can be wiped off with a damp cloth.
This is normal during cooking due to the extreme high temperatures and subsides quickly. To reduce this, try to limit the amount of flour/semolina used on your peel. We recommend 1/2 teaspoon on the peel. It is also recommended to use the oven in a well-ventilated area. Please refer to the Instruction Booklet for the additional safety information.
Using the Pizza Peel
It is essential to cook your pizza directly on the deck. This requires the use of the pizza peel to transfer your pizza into the oven. The exception being when using the pizza pan.
Ensure that the oven is already preheated before placing the dough on the pizza peel. Follow these steps
- Sprinkle a small amount (½ tsp) of flour and semolina mix (half and half) over the surface of the peel before placing the dough on it.
- Place your stretched dough onto your peel and begin saucing/topping your pizza
- WORK FAST! Add your sauce and toppings quickly. If not, the moisture in your dough will cause it to stick to the peel and make it difficult to slide your pizza onto the stone
- Do not let the dough sit on the peel for more than about 2 minutes to prevent it from sticking
- Once the pizza is topped and ready to cook, position the peel to the back of the oven. Let the tip of the peel rest on the deck and raise the handle so that the whole peel is tilting forward. Jiggle the peel back and forth gently to allow the tip of the pizza to touch the deck
- Gradually jiggle the peel out of the oven stretching the pizza out on the deck as you go
- Once cooked, slide the peel under the pizza to remove from the oven
The aim is to use just enough flour/semolina (1/2 tsp) to ensure the pizza doesn’t stick on the peel.
If you use too much, the excess flour will burn on the stone, causing a bitter taste and a yellow color on the base of the pizza. This excess flour will also increase the amount of smoke and chance of a fire occurring in the oven after you have removed your pizza.
The peel needs to remain cold and clean to prevent the dough from sticking. Do not sit the peel under the pizza oven, while waiting to load the pizza onto its surface.
Using the Pizza Pan
For pan style pizza, the pizza should be prepared in the unheated pizza pan and then placed in a preheated oven. Always ensure to have deck in place when using the pizza pan.
Alternatively the pan can be preheated before adding food, e.g. vegetables, to achieve better charring results.
Making Your Pizza
Yes, we created recipe cards to complement the Pizzaiolo oven along with helpful tips and tricks. Please refer to the recipe cards, videos online and instruction booklet for additional information.
Please follow the order outlined in the recipe cards when adding toppings. This will prevent ingredients like pepperoni and mushrooms from getting too crispy. Please refer to the recipe cards for additional information.
Depends on the style of pizza. Generally speaking, too much cheese or sauce can result in soft, undercooked dough. For Neapolitan, suggest dabbing soft cheese with paper towels to remove any excess liquid.
Working fast is important, as it keeping the peel cold and using 1/2 teaspoon of semolina/ flour mix on the peel.
Depends on the style of pizza. Please refer to the recipe cards and the times outlined in the instruction booklet for additional information.
Yes, you need to pre-heat the oven until the “At Temp” Light goes steady. Please refer to the preheat times in the instruction booklet and recipe cards for additional information.
Don’t be alarmed. Close the door if it is still open. If the fire does not self-extinguish within 20 seconds, unplug the unit and keep the door closed until the fire is out.
Manual Mode is an alternative mode of operation that allows you to individually control deck and top temperatures, and to select which heaters are in operation. This enables you to fully customise how the oven functions. For additional information please refer to the instruction booklet.
Preheat oven to 120°C ( 250°F) place a wire rack on a baking tray. Place pizza on wire rack keep warm in oven until required.
Care & Cleaning
Before cleaning, ensure the oven and all accessories are cool, and remove the power plug from the power outlet. For detailed cleaning instructions please refer to the instruction booklet.
The pan provided with your pizza oven is made of carbon steel and requires special care. Please season the pan following the instructions in the instruction booklet before first use.
Tips for Dough
It’s important to use the right amount of dough. Most store-bought dough comes in 450g or greater bags. When you take the dough out of the fridge, divide it into ~225g balls. Shape them into nice balls, put on a greased tray, spray and cover with plastic wrap. Let sit at room temp for 30-60 minutes.
Use 1 whole 450g dough ball to make a pan pizza. Follow the instructions on the recipe cards included or view the Smart Oven Pizzaiolo recipes online.
Many local pizzerias also sell pizza dough.
Shape pizza dough into balls as per recipe and freeze, wrapped in large freezer bags. (Note: Once we have the recipes online it’s good to make a note after the step that this is where the balls can be frozen etc. cross-referencing to our FAQs)
Frozen pizza dough needs to be taken out from the freezer and then thawed in the refrigerator for 6-12 hours (depending on size of dough). 3-5 hours at room temperature (depending on size and ambient temperature).
It’s important to make sure the dough is always covered, either with plastic wrap or with a damp tea towel to prevent the dough from drying out. Sprinkle dough with a little flour before covering to prevent sticking. Or place dough in a lightly oiled airtight container with room to rise. Dry dough won’t shape neatly and easily crack.
We created recipe cards to complement the Pizzaiolo with helpful tips and tricks. For additional information please refer to the recipe cards and recipe videos online.
Pizza dough contains yeast, which needs to be proofed for a good pizza result. The yeast will eat the sugars in the flour, turning them into CO2 and eventually alcohol. Proofing also relaxes the gluten strands in the dough which will make it easier to stretch the dough.
For pizza we only want the CO2 and therefore the right timing is essential. Dough can be proofed for as short as 1 hour (fast proof) and up to 5 days in the fridge (slow ferment). The CO2 in the dough makes the dough light and airy, making the dough easier to stretch and shape and also creating bubbles when cooking.
For best pizza result, we recommend to bulk proof the dough followed by forming them into individual balls for a long proof (slow ferment), in the fridge up to 5 days.
That depends on the dough/style of pizza and is outlined in more detail in our recipe cards. Please refer to these for additional information.
The dough should come back to room temperature before pressing it into shape. Use gentle force to shape the dough into a round leaving the border thicker than the base. Check out the technique video and recipe cards in how to shape the dough.
That depends on what style of pizza is preferred. Our recipes are tailored to the settings of the Pizzaiolo and have been diligently tested for the best outcome. Please refer to the recipe cards and videos for additional information.
Shape them into nice balls, put on a lightly dusted tray, rub with oil and cover with plastic wrap. Let sit at room temp for 30-60 minutes before use. Please refer to the Instruction booklet and recipe cards for additional information.
Yes, it does. Generally speaking the dough needs to have proved for 2-3 days in the fridge for leopard spotting. But the longer ferment also improves the flavor of the dough. Don’t leave the dough for longer than 5 days for optimum result.
- 1- day dough quick ferment will form a smoother surface and will brown more evenly.
- 3- day dough will start blistering, stretching small sheets of gluten outwards in the hot oven resulting in faster browning – leopard spotting.